Starting from 2020, FTIRs from ARCoptix include a top desiccant port, that allow using the instrument without nitrogen line. For some customers however, the residual moisture level achieved with desiccants is not sufficient. This document shows how to install a nitrogen purge line on the FT-MIR Rocket or any instrument equipped with a top desiccant port.
- Hex (Allen) key 2 mm
- Tubing with OD corresponding to the push-in fitting (4mm)
- The nitrogen source must be clean (e.g. with particle filters) and allow setting of a low volumetric flow, <1L /min
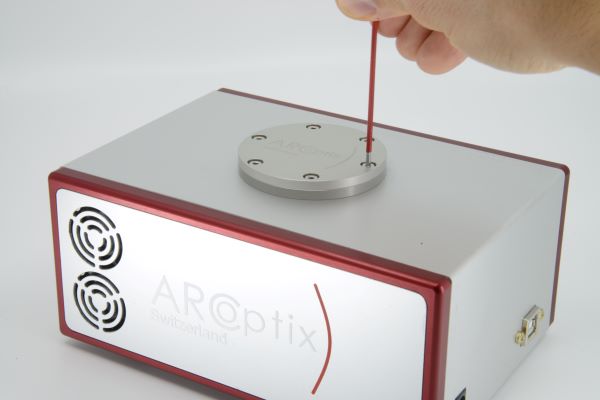
First, remove the six screws that hold the desiccant cover and take the lid off
This will give you access to the desiccant capsule. Make sure that the O-ring remains in position when removing the desiccant. Note that the desiccant will quickly saturate once it has been exposed to ambient air, so it has to be discarded. In case the instrument needs to be used again with a desiccant, a new capsule must be installed.
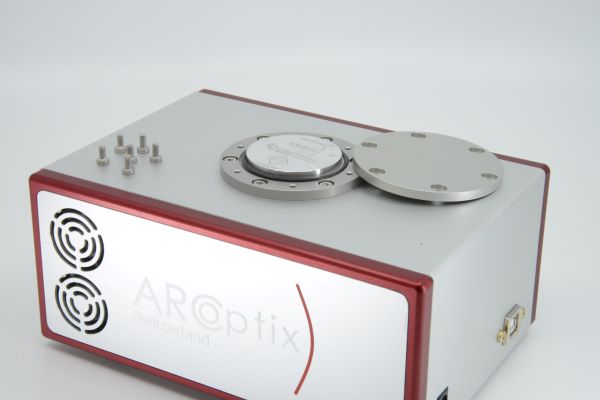
Be careful not to perforate the membrane located underneath the desiccant capsule.

Replace the original cap with the purge cap. Tighten the screws evenly in order to ensure the air tightness of the interferometer volume
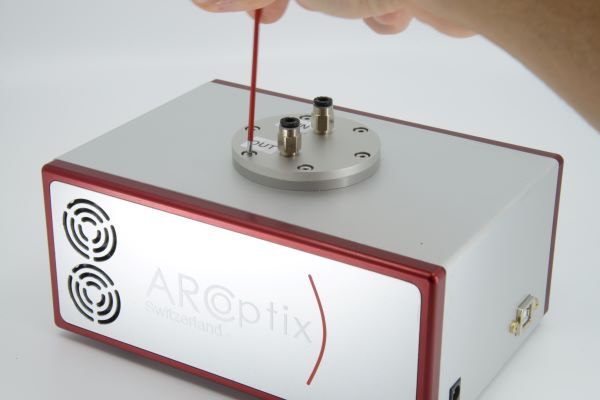
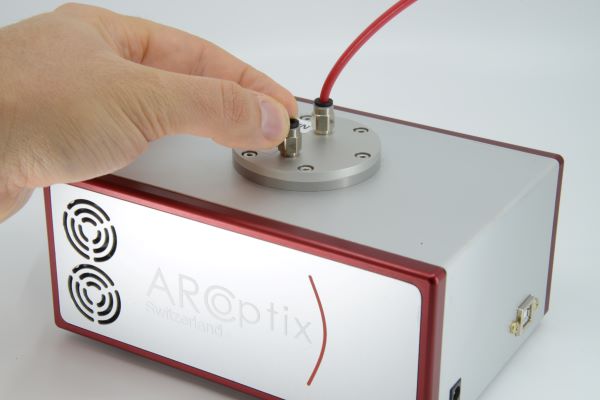
Finally, connect the purge tube to the port labelled IN. Use a low volumetric flow order of about 0.5L/min or less and keep the OUT port open in order to allow for the air inside the instrument to be flown out. Release the push-in fitting and stop the purge flow once the volume of the interferometer has been filled with the purge gas